Creating New Customer Users
This guide illustrates how to create new Customer Users on the eStock web portal.
Step 1
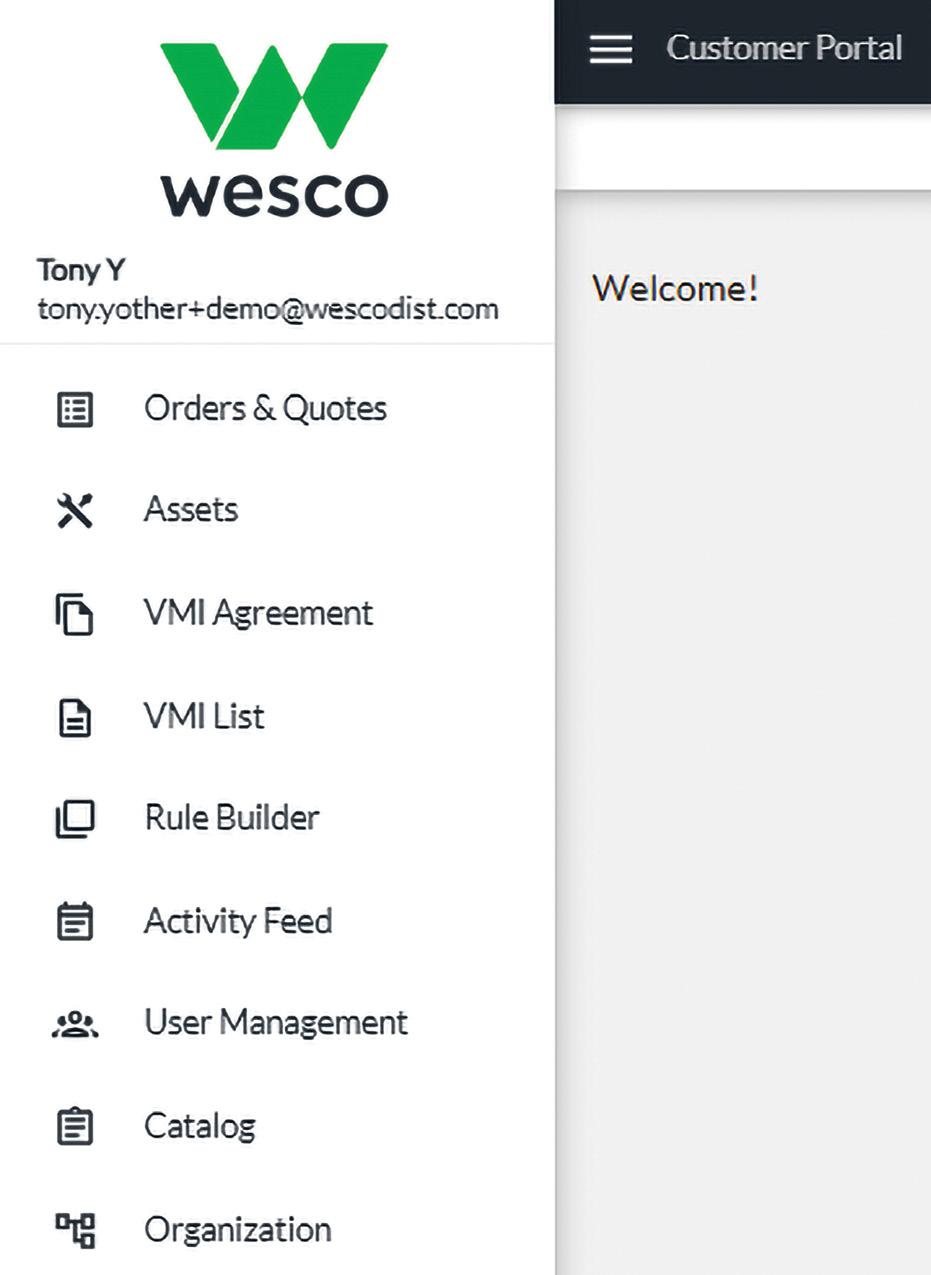
Select User Management from the options in the left-hand menu.
Step 2
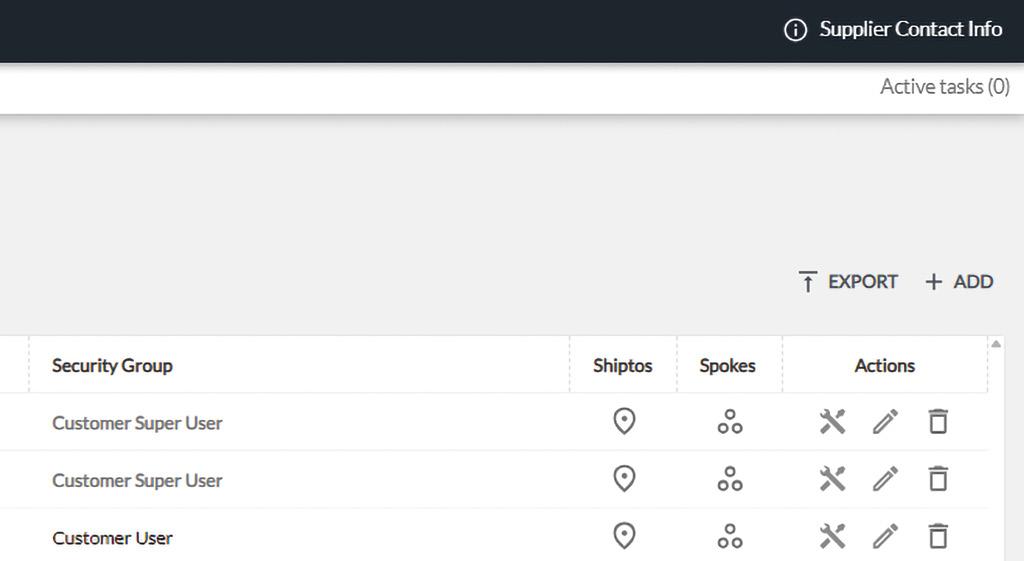
Select the + ADD button in the top-right corner, above the Actions column, to start creating a new User.
Please Note: There are different Security Groups available to manage access to certain features:
• Customer User – This group can access the mobile app to issue and return material, and has visibility into the eStock portal but cannot edit.
• Super Customer User – This group can edit and manage features on the web portal (user accounts, reports, receiving material and list of material), and has access to issue and return material on the mobile app.
Step 3
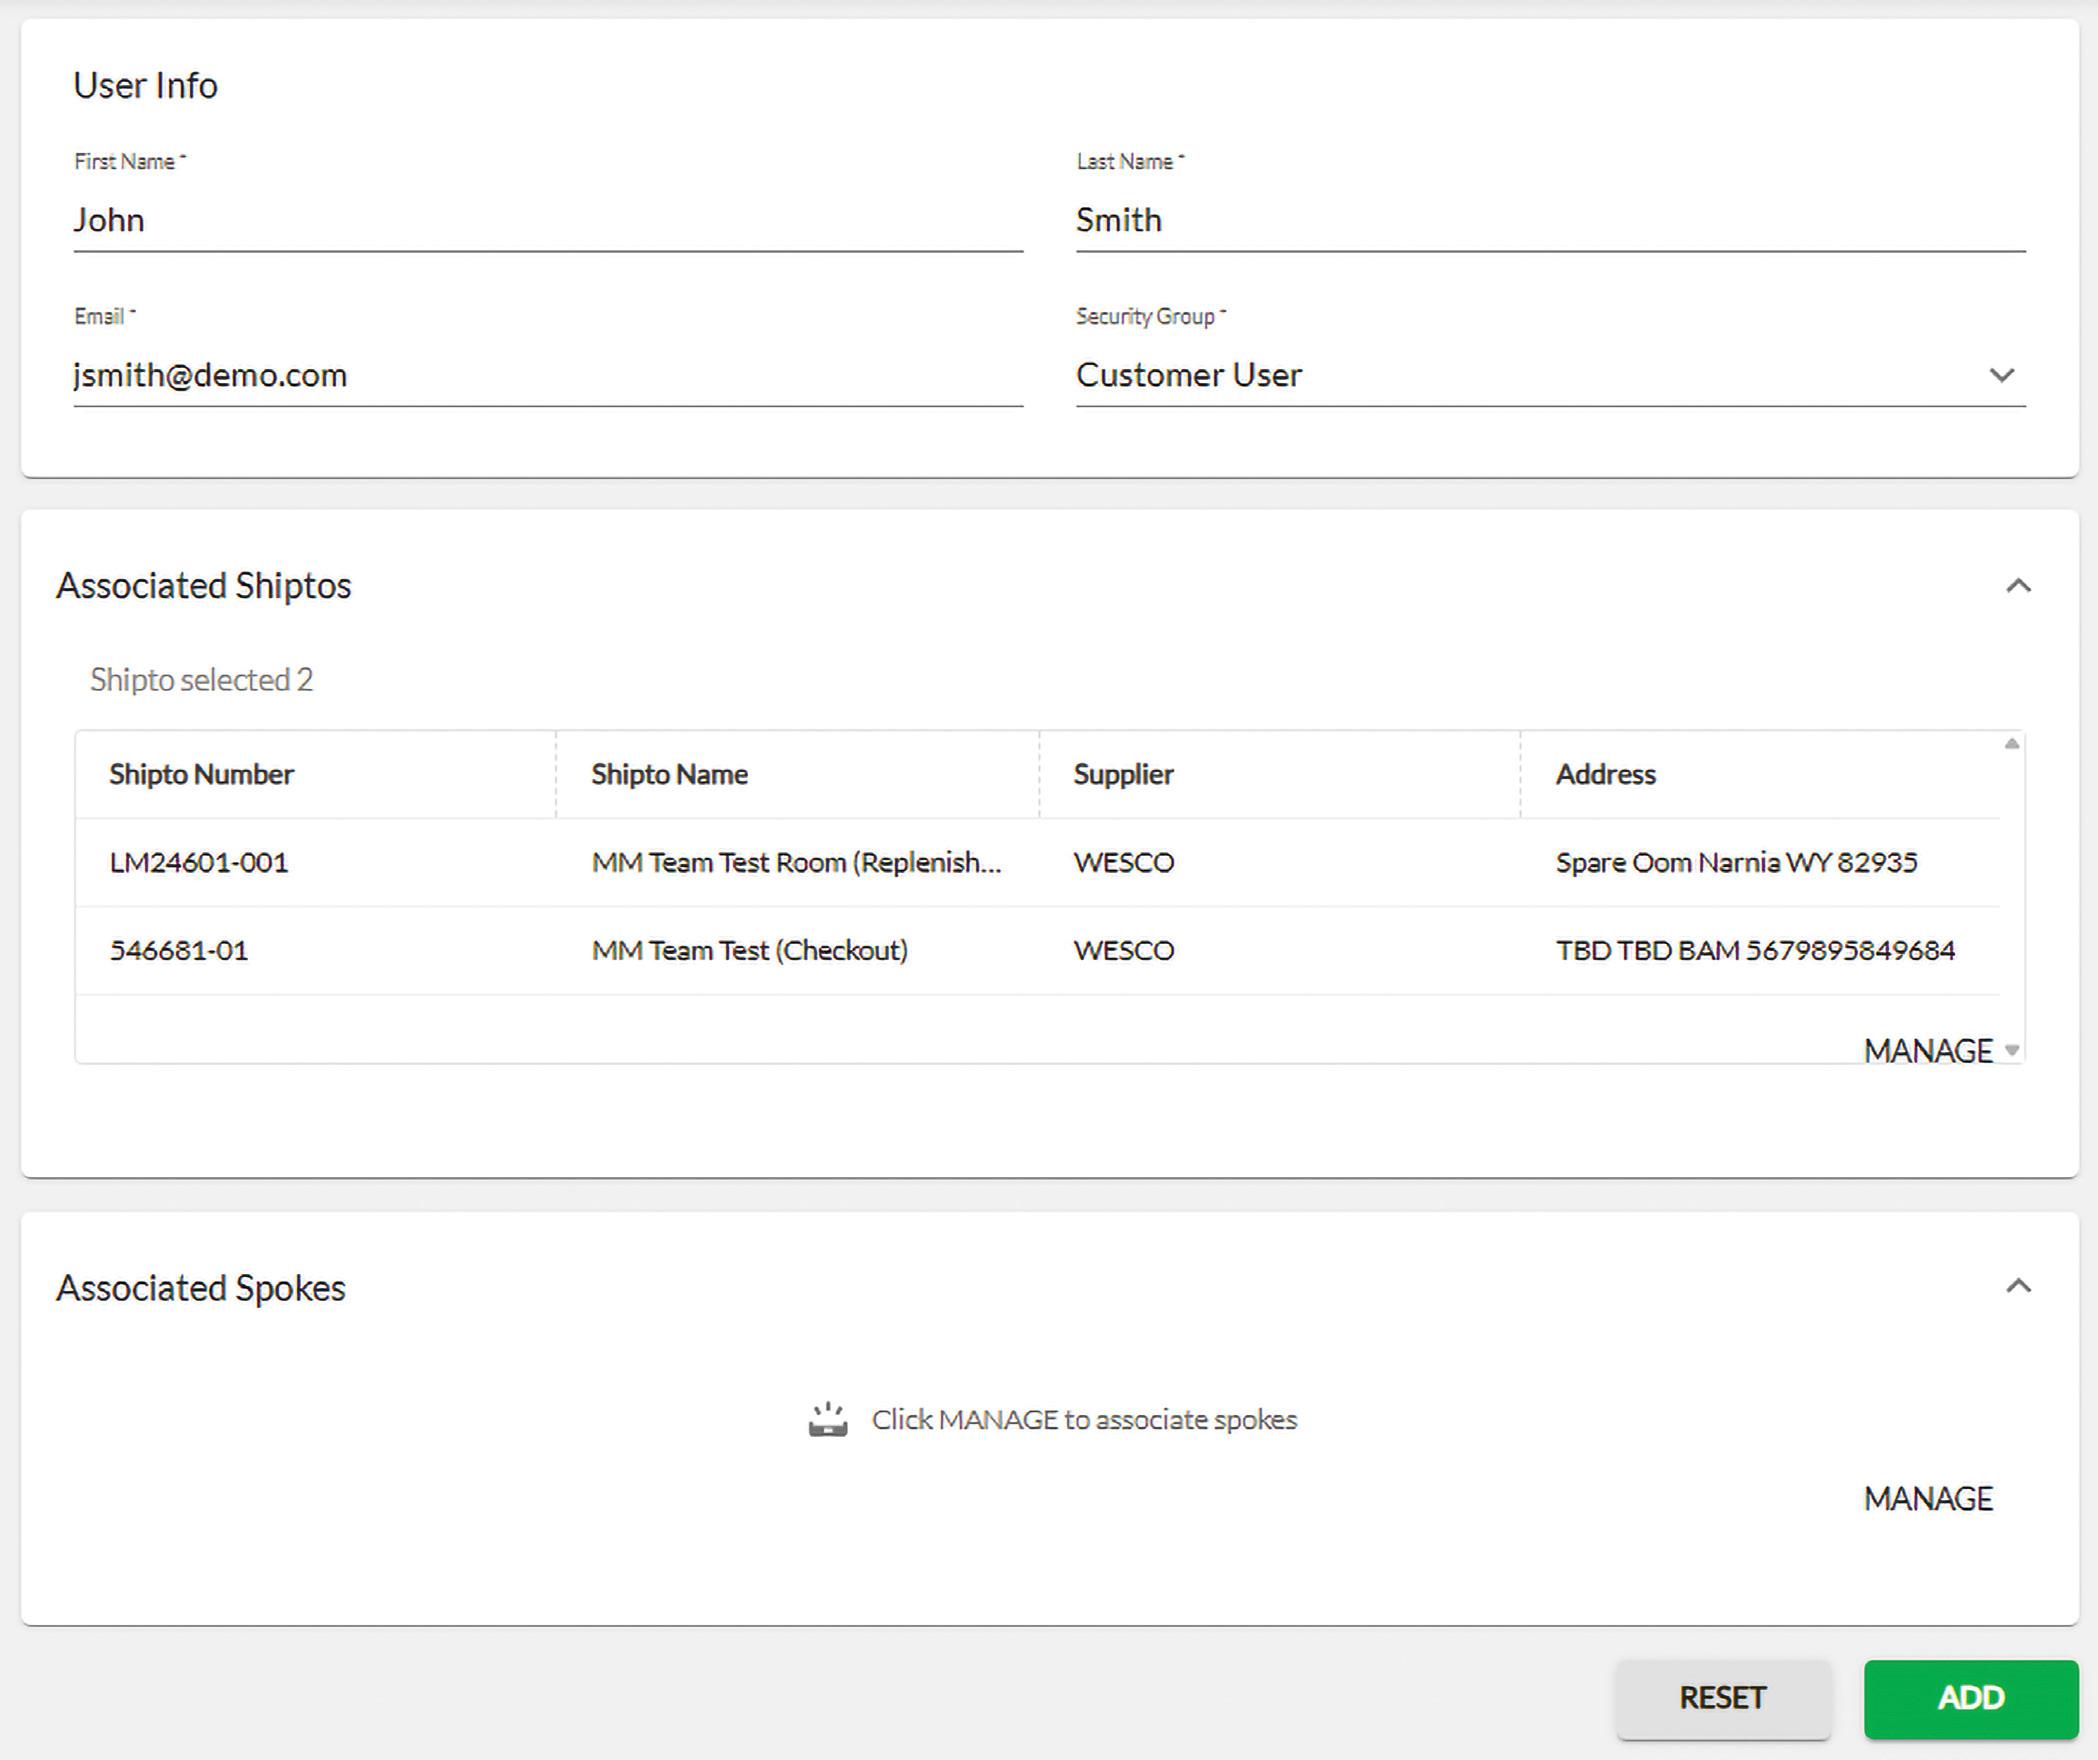
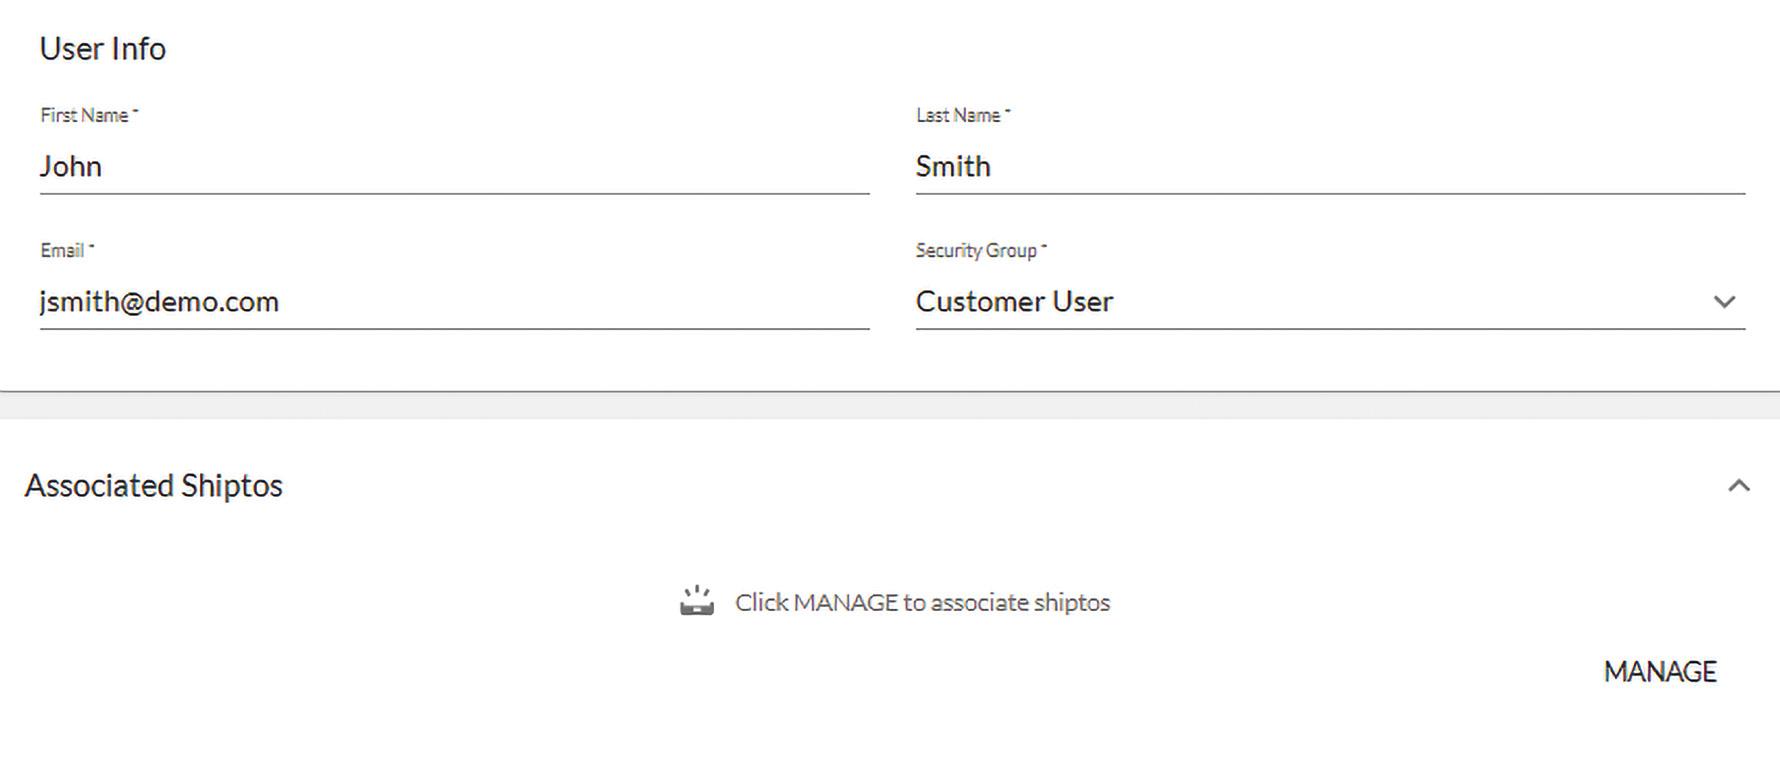
Fill in the New User’s required information.
Step 4
Select Manage in the bottom-right corner to select the Ship-to locations they should have access to.
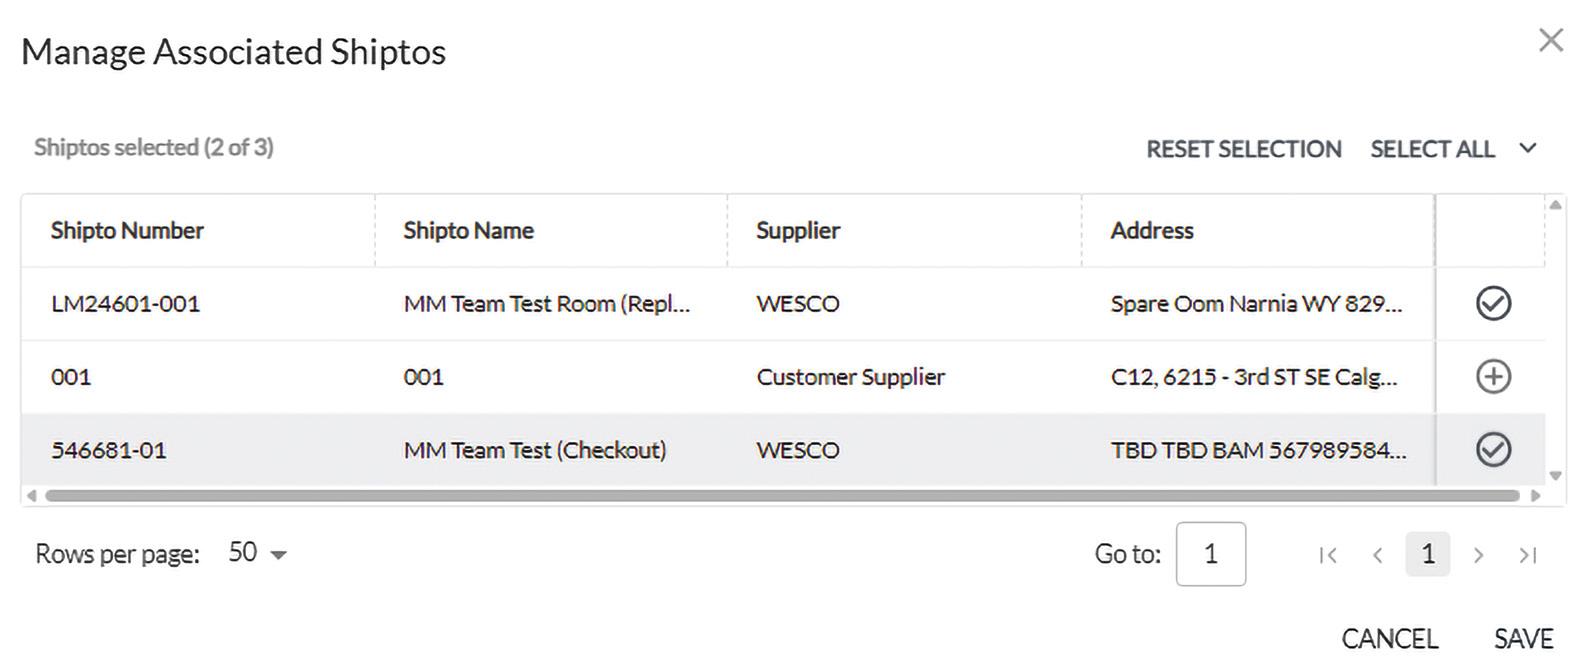
Step 5
From the Manage Associated Shiptos window, use the plus button in the far-right column to choose the location(s) to give access to, or click Select All at the top to choose all locations.
6
Step 7
Select the green Add button to complete the new user profile.
Please Note: The new user will receive a welcome email containing their temporary password. See the Initial Login training document for additional details.